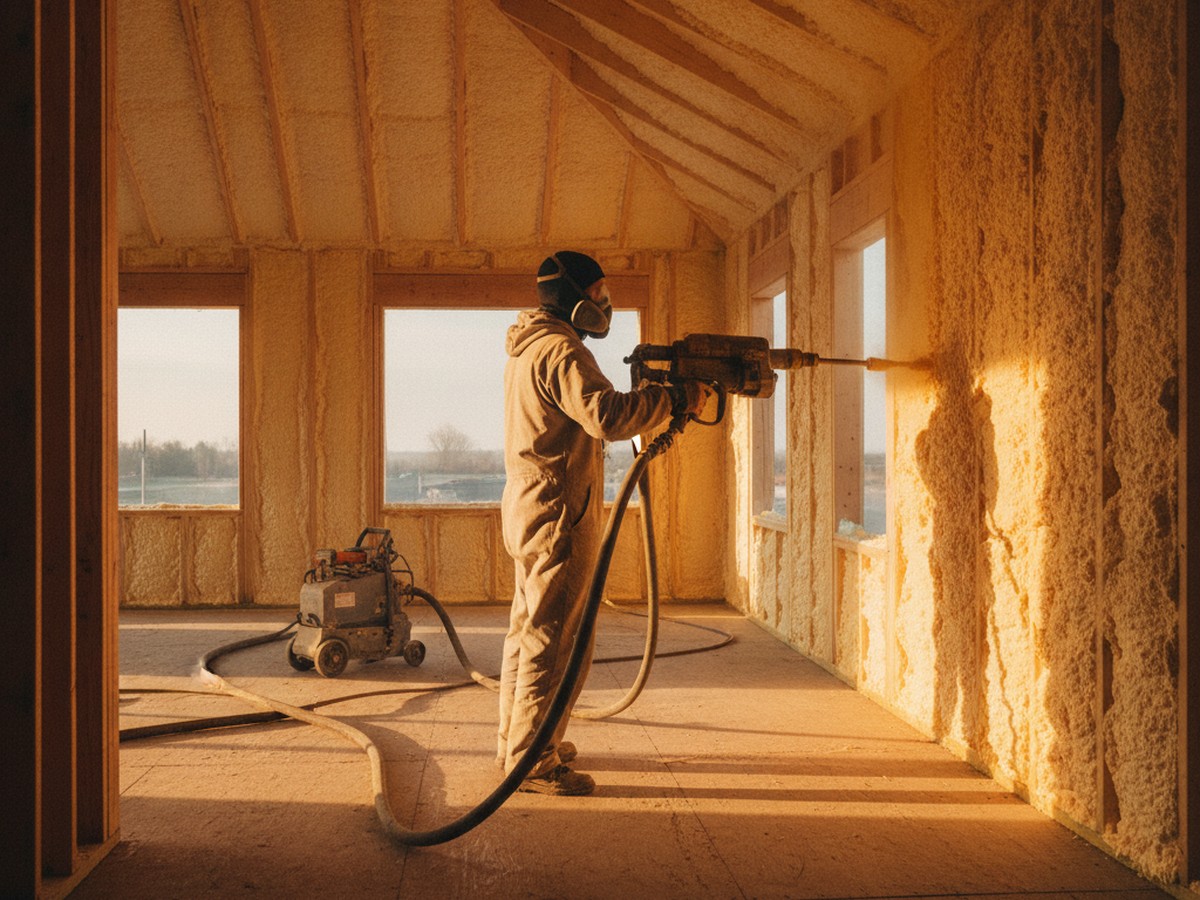
Real demonstration footage of how spray foam insulation is actually applied — attic, crawl space, walls, roof, and garage. Every video below is credited and linked to its real source. We don't produce this footage; we curate it.
Every card below links out to the real company that produced or published the video — manufacturers, trade associations, and retailers. None of this is CCA's own installation crew or footage.
Equipment setup and spray technique for open-cell attic applications, filmed by the equipment manufacturer.
Source: Graco
Roof deck application footage showing pass technique and lift thickness for closed-cell roof deck spray foam.
Source: BASF SPF
A full crawl space encapsulation sequence — vapor barrier prep followed by spray foam application to rim joists and walls.
Source: SprayWorks
Trade-press coverage of wall cavity retrofit injection foam, showing drill-and-fill technique on an existing structure.
Source: Spray Foam Magazine
Association-published footage covering garage ceiling and rim joist spray foam application and common problem areas.
Source: SPFA
A training-provider walkthrough of open-cell foam application in an unfinished attic, including safety gear and ventilation setup.
Source: ProFoam
Retailer-produced demonstration of a small spray foam kit intended for sealing gaps and small cavities, not whole-home application.
Source: Lowe's
Every spray foam job follows a similar arc, whether it's an attic, a crawl space, or a full roof deck. This is a general overview — not tied to any one brand or crew — illustrated by the videos above.
The space is cleared, surfaces are masked off, and the crew sets up ventilation and protective equipment. Substrate temperature and moisture are checked before any foam is sprayed, since both affect how the foam cures.
The applicator sprays the foam in controlled passes, building thickness in layers rather than one thick coat, to keep the reaction even and avoid overheating the foam as it expands.
The foam expands and sets within seconds, but full cure and off-gassing timelines vary by product. Re-entry and occupancy guidance should always come from the specific product's data sheet and your installer, not a general estimate.
Spray foam is applied directly to the substrate with no air gap by design — that's part of what makes it an air-sealing product rather than just a thermal barrier. The exception is certain roof and attic assemblies where a specified ventilation strategy (or intentional unvented design, if your local code and installer confirm it) matters. This is a detail your installer should confirm against local code before spraying, not something to guess at from a video.
Re-entry times vary by product and manufacturer, but many spray foam systems specify a re-entry period in the range of a few hours up to 24 hours for occupants, with full cure taking longer. Always follow the specific product's safety data sheet and your installer's guidance rather than a general rule of thumb — ventilation, room size, and product chemistry all affect the timeline.
It depends on whether the foam is open-cell or closed-cell. Closed-cell foam has a higher R-value per inch than open-cell foam, so it reaches a target R-value in a thinner application. Exact per-inch R-values vary by manufacturer and product formulation, which is why installers reference the specific product's technical data sheet rather than a single industry-wide number.
Most spray foam systems have a specified minimum substrate and ambient temperature range for proper application and cure. Applying outside that range can affect how the foam expands and cures, which is one reason professional installers monitor jobsite temperature rather than applying foam under any conditions.
Curious what these installs look like once they're finished? See real before and after transformations. Still weighing cost, DIY, or open-cell vs. closed-cell? Get the honest answers in Homeowner Education Videos.
Get matched with a vetted, insured spray foam contractor near you — free, no obligation.